Raspberry Pi and Arduino: Serial Communication Over GPIO pins
I recently received a Raspberry Pi from a friend and I wanted to see if I could tie it to one of my Arduino boards without using a USB cable. The tutorials I found were helpful and relatively simple but were missing some details that I thought would be helpful. So I’ve decided to make a (hopefully) more simple tutorial to get people up and running with serial on the Raspberry Pi’s GPIO pins.
Required hardware:
- an Arduino
- logic level converter (or you can make this with transistors)
- a Raspberry Pi
- some wires
- and a breadboard
The first thing is to get your Raspberry Pi up and running. I used this wiki page to get an operating system (Raspian Wheezy for me) installed in my SD card. I had to use the “flashnul” software because the Win32DiskImager software used in the “easy way” wouldn’t recognize my SD card.
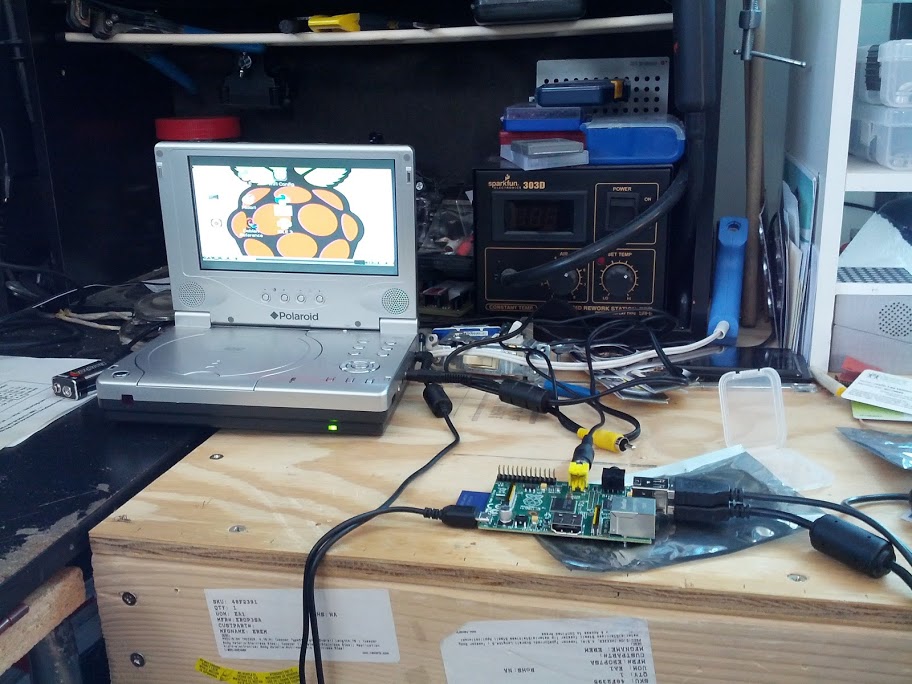
Once that is done you can plug a keyboard and a monitor into your Raspberry Pi (you don’t need a mouse for what we’re doing). I used the yellow composite cable port to connect my Pi to an old portable DVD player. Plug the power cable (micro USB) into the Raspberry Pi. When it starts for the first time you will see a configuration settings screen. I followed the steps in this tutorial to get mine setup. Additionally, I enabled the SSH server because I didn’t want to have so many things plugged in when using my Pi. When you’ve finished with the configuration and you’ve rebooted your Pi it will present you with a login screen. If you had plugged in an ethernet cable to your Pi you should have seen an IP address during boot. I use this IP address to SSH into my Pi from my desktop computer. The login name is “pi” and the password is the one you setup during configuration. Log in to your Pi (I logged in via SSH).
Note: don’t run the “startx” command after you log in. You can do everything you need for this tutorial from the command line.
Now you can begin installing the junk you need to get going with serial over GPIO.
The first thing I did was update the Pi. press “y” when prompted: sudo apt-get update && sudo apt-get upgrade
The next thing is to get Vim installed: sudo apt-get install vim
Now for the actual serial over GPIO configuration…
Use vim to comment (#) this line out of /etc/inittab (it was the last line in my inittab file):
T0:23:respawn:/sbin/getty -L ttyAMA0 115200 vt100
so that line becomes:
#T0:23:respawn:/sbin/getty -L ttyAMA0 115200 vt100
I think I rebooted at this point although I’m not sure it matters: sudo reboot
Then use vim to remove this section from /boot/cmdline.txt
console=ttyAMA0,115200 kgdboc=ttyAMA0,115200
Be careful to remove only that.
Reboot your raspberry pi: sudo reboot
Then install minicom: sudo apt-get install minicom
Now your Raspberry Pi is ready software-wise.
Load this sketch onto your Arduino:
byte num = 0;
void setup()
{
Serial.begin(9600);
}
void loop()
{
if (Serial.available())
{
num = Serial.read();
Serial.print("character recieved: ");
Serial.println(num, DEC);
}
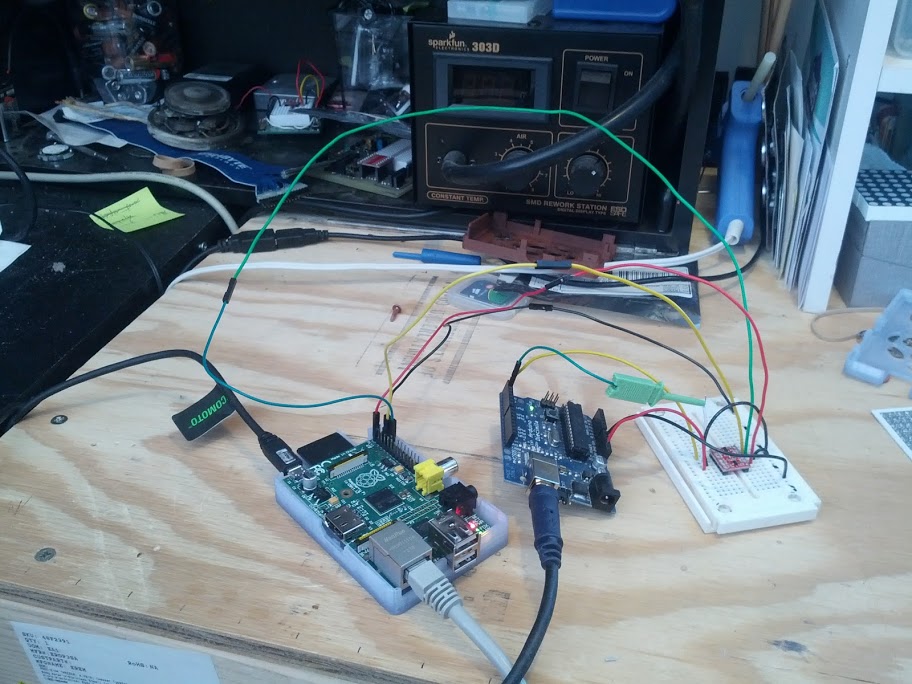
}After that’s been loaded onto the Arduino, turn them both off and wire them up according to this diagram:

Also this might help:

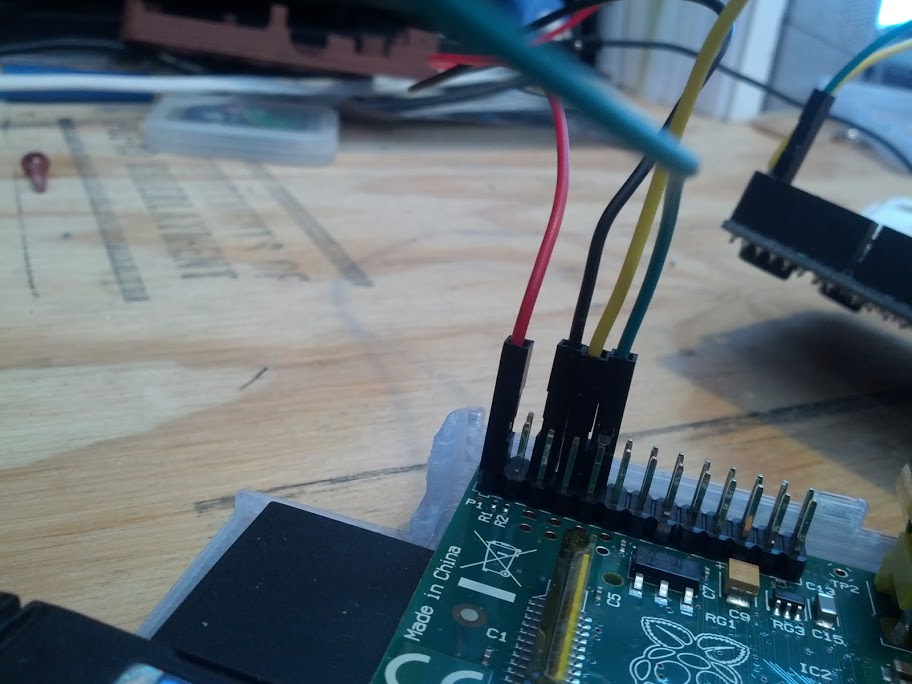
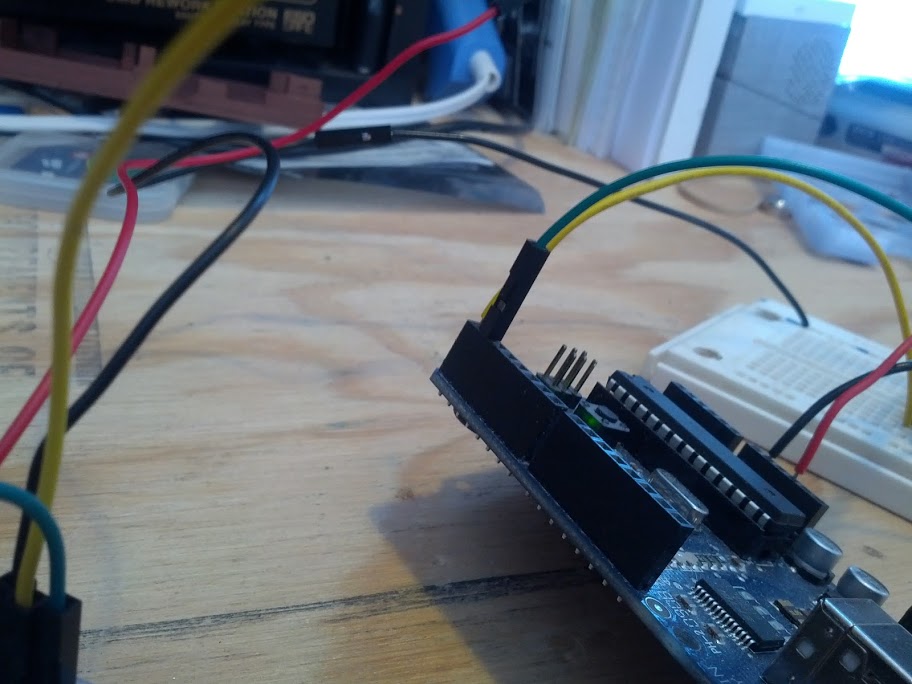
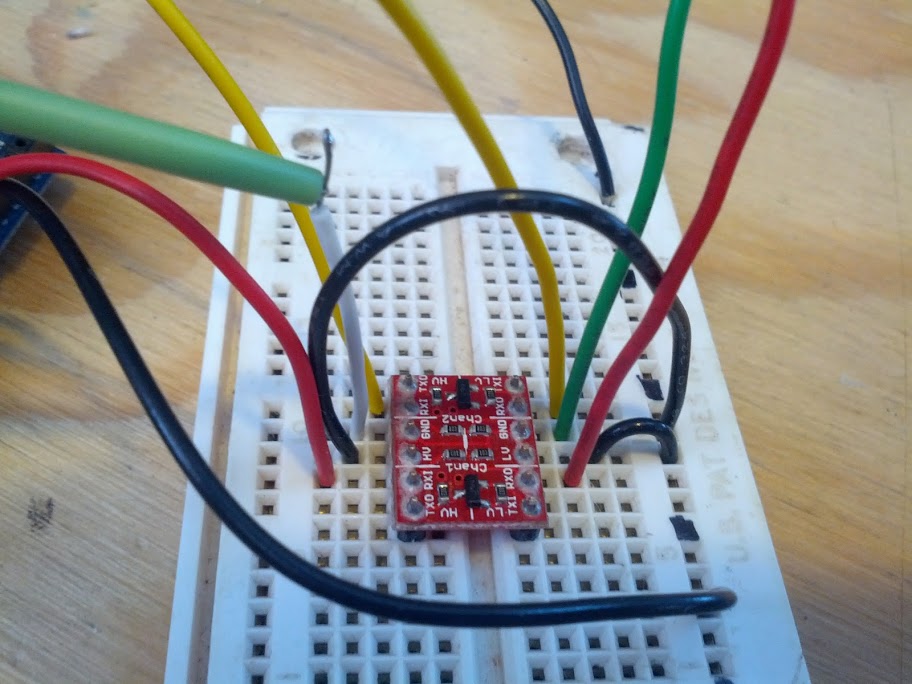
Additionally, there are some pictures of my wiring setup at the bottom of the page.
Double check your wiring. I’ve heard that you can break the crap out of your Raspberry Pi if you do it wrong.
I’m not sure the order matters, but turn on your Raspberry Pi and then turn on your Arduino. Login to your Pi and enter the following command to connect to the Arduino:
minicom -b 9600 -o -D /dev/ttyAMA0
Now whatever you type is sent to the Arduino and the Arduino responds with the decimal format of the character that it received (see asciitable.com)
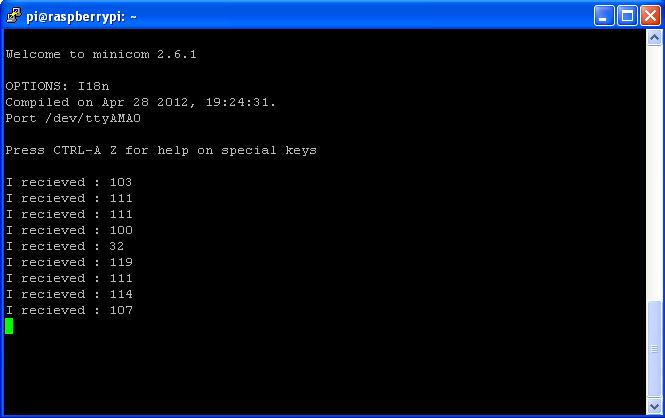
Also, to get out of minicom do: ctrl-a q
Success! Your Raspberry Pi is now communicating with your Arduino over the GPIO pins.
This might be useful for testing, but in order to do something more useful you might want to communicate with the Arduino using Python.
Exit out of minicom: ctrl-a q
Run this command to install the necessary python serial library: sudo apt-get install python-serial
Then you can write a python program like this to send data to the Arduino over the serial line:
import serial
ser = serial.Serial('/dev/ttyAMA0', 9600, timeout=1)
ser.open()

ser.write("testing")
try:
        while 1:
                response = ser.readline()
                print response
except KeyboardInterrupt:
        ser.close()
Run the program with: python <program file name>
And your output should look something like this:
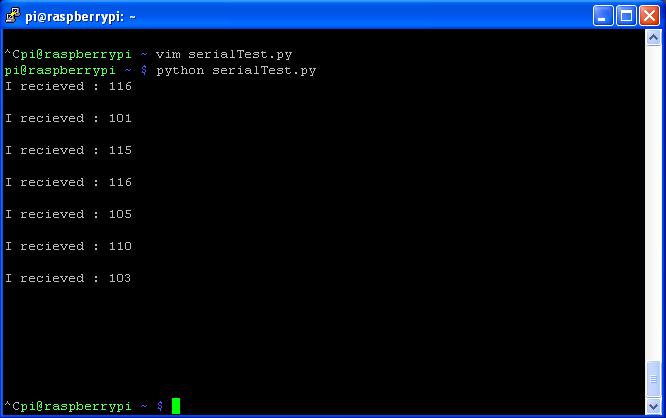
press ctrl-c to exit the program.
Well that’s all for now. Have fun and let me know in the comments if you have any questions.
Some pictures of the process: